A wine wall design project goes more smoothly when everyone at the table, the homeowner, the architect, and the interior designer, understands what the others need before construction begins. The decisions that seem minor early in the process (ceiling structure, bottle orientation, finish) become expensive to change once the build is underway.
This guide is for all three audiences. Homeowners navigating a renovation will find what to prepare and what to expect. Architects and interior designers will find the structural and aesthetic requirements that matter most for a Cable Wine Systems installation.
What the Homeowner Needs to Decide Before the First Design Meeting
Know your collection size, your preferred display style, and your budget range before sitting down with any design professional. Coming in with those three things settled saves time and keeps the design process focused.
Your collection size drives everything else. A display for 100 bottles requires a very different space allocation than one for 500. Think about where the collection is now and where it will realistically be in five years. Underbuilding is a common regret. Overbuilding is rarely one.
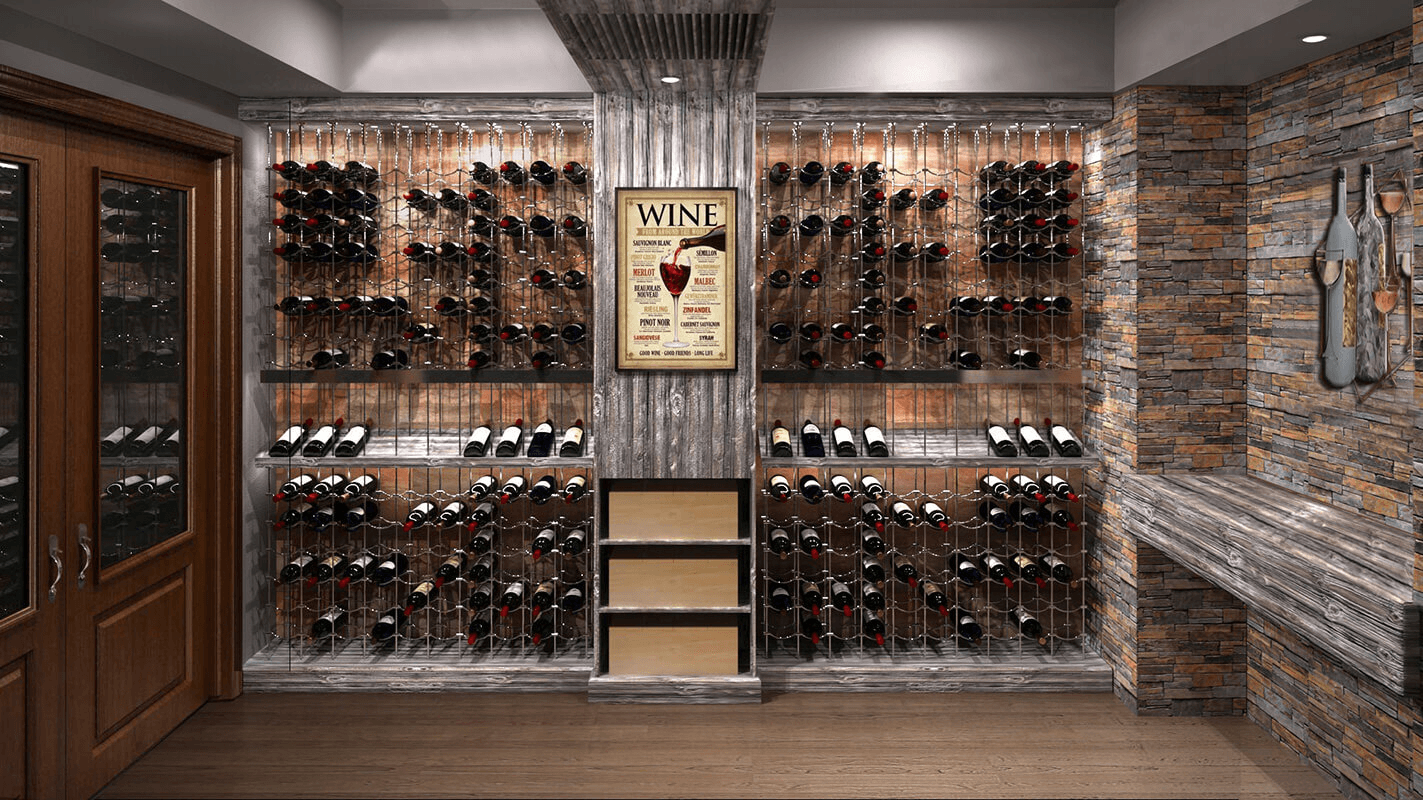
Your preferred display style is the second decision to make early. The Cable Wine System offers two primary bottle orientations: neck-out and label-view. Neck-out keeps the cork end facing forward. Label-view turns bottles sideways so the labels face out, making identification faster and turning the collection itself into part of the visual. Decide which one fits how you actually use your wine before the design conversation begins.
Budget range, even a rough one, helps the design team make practical decisions about wall dimensions, bottle depth, and add-ons like floating shelves, angled displays, or integrated LED lighting. The Cable Wine System is priced by the piece based on the height, width, and depth of the installation area. Your team cannot design for a number they do not have.
For a broader look at materials, finishes, and how the system is priced, the Cable Wine Systems complete buyer guide to home wine displays is a useful starting point before the first design meeting.
What Architects Need to Know About Structural Requirements for Cable Wine Systems
The ceiling is the most important structural element in any Cable Wine Systems installation. Most of the system’s load, the combined weight of cables, hardware, and wine, bears on the ceiling or top mounting point.
Standard residential ceiling construction is not always sufficient on its own. A proper installation typically requires 2x4s installed between the floor joists above the installation area. Top tension support plates are then secured through the finished cladding and into a minimum of two inches of that framing. Without this reinforcement, the ceiling cannot safely carry the load.
Assess the ceiling structure before any design is finalized. If the project involves a concrete slab ceiling, different anchor methods apply. If it involves a suspended ceiling or a space with restricted joist access, those constraints need to be flagged early. Cable Wine Systems can advise on specific structural scenarios when contacted directly, but the architect needs to bring accurate ceiling data to that conversation.
Floor mounting follows the same logic. If the existing floor area is covered by tile, stone, or hardwood, base tension support plates are secured using metal screw plugs or anchors rated for the load. If an elevated base is being built to match a bulkhead above, 2x4s with 3/4 inch plywood are typically used.
Lead times run from 3 to 12 weeks. For any renovation with a fixed completion date, Cable Wine Systems should be specified and ordered well ahead of the install window. Waiting until framing is done to start the order process often creates scheduling conflicts that are difficult to recover from.
Cable Wine Systems ships worldwide. International projects should factor both lead time and shipping into the build schedule.
What Interior Designers Need to Consider: Sight Lines, Scale, and Finish

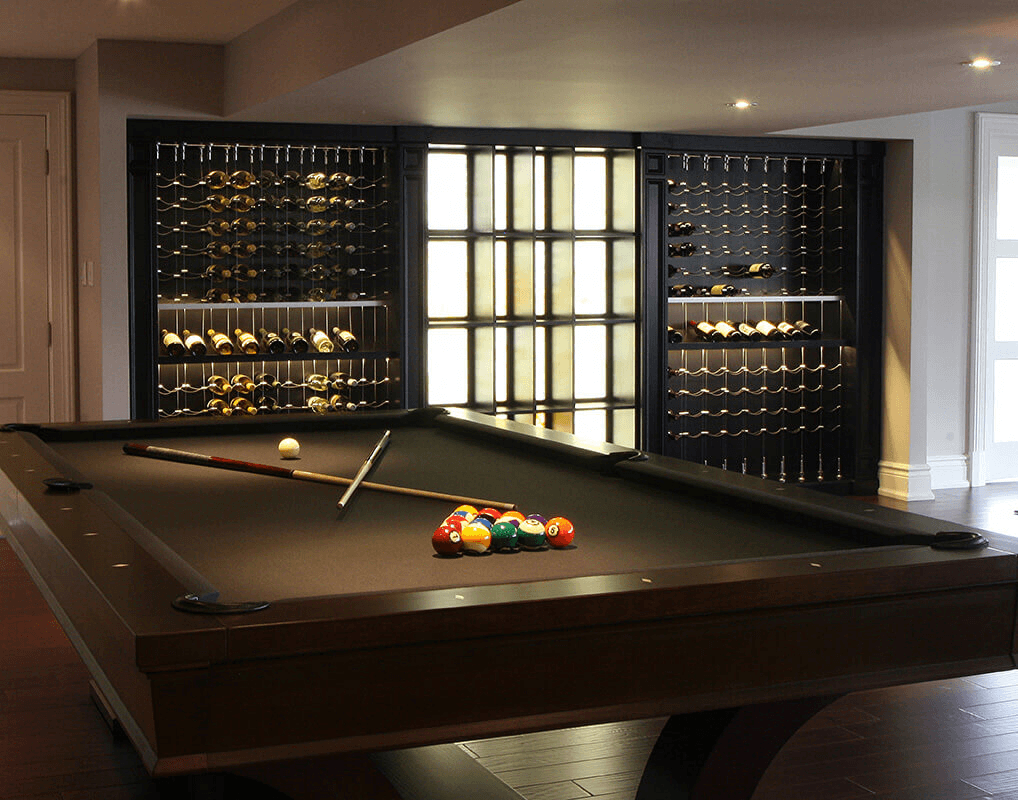
A wine wall works as a design element when the scale is right, the sight lines are considered, and the finish connects to the rest of the room. Getting any one of those wrong makes the display feel like an afterthought rather than a feature.
Scale is the first consideration. A cable wine wall that is too narrow for its wall reads as undersized. One that extends into a doorway or blocks a window creates a functional problem. The sweet spot is a display proportioned to command the wall it occupies without competing with the architectural elements around it. Mock-ups and elevation drawings help settle this before anything is ordered.
Sight lines matter more for label-view installations than for neck-out. In label-view, the bottles at the lower portion of the racking face upward, and the bottles at the higher section face down. This is a feature of the system design, not a limitation. It means guests reading the collection from a standing position can see the labels at eye level clearly. Interior designers who understand this can position the display at a height that takes full advantage of it.
Finish selection connects the wine wall to the room. Cable Wine Systems offers tension sets in chrome and satin nickel. The connecting clamps come in chrome only. Chrome suits high-contrast, polished interiors. Satin nickel integrates better with matte finishes, natural wood, and transitional palettes. The Cable Wine Systems gallery shows completed residential and commercial installations in both finishes, which makes it a practical reference for client presentations.
Additional design elements can be layered onto the cable system without changing its structural approach. Floating shelves, angled bottle displays for Champagne and larger format bottles, LED accent lighting, and marble or hardwood backsplashes all integrate with the system. These additions should be specified in the design drawings and coordinated with the Cable Wine Systems team during the order process, not added after installation.
The Questions Every Client Should Ask Before Installation Begins
Asking the right questions before work starts is what separates a wine wall that performs as intended from one that requires costly adjustments after the fact.
Ask your architect: Has the ceiling structure been assessed and confirmed as adequate for the wine wall load? If reinforcement is needed, is it included in the build scope?
Ask your interior designer: Is the display positioned so that the bottles at eye level are in label-view orientation? Does the finish selection coordinate with the other hardware in the room?
Ask Cable Wine Systems directly: What is the current lead time for your order, and does the system ship complete to your location? Are all parts for your specified configuration included in the quote, or are there items that need to be ordered separately?
Ask yourself: Is the bottle capacity I am planning for my collection today, or for the collection I expect to have in three to five years? Am I specifying neck-out or label-view, and does the design team have that confirmed in the drawings?
One question that comes up often: can the system be installed as a DIY project? The answer is no. Cable Wine Systems does not recommend self-installation for residential or commercial projects. The structural requirements around ceiling reinforcement and cable tension are precise, and errors in installation can result in ceiling damage or system failure. Professional installation is the only recommended path for all builds. For more details on the structural specifics, the Cable Wine Systems FAQ covers the most common installation questions in straightforward terms.
How Cable Wine Systems Works With Design Teams From Brief to Installation
Cable Wine Systems operates as a working partner for architects and interior designers, not just a supplier.
The first step is a quote request. This is done through the Cable Wine Systems contact page. Once the team receives the request, they respond within one to two business days with follow-up questions and a lead time estimate. For projects that are still in the design phase, this early conversation is valuable because it surfaces any structural or configuration questions before they become costly revisions.
Pricing is calculated based on the height, width, and depth of the installation area at maximum spacing. The system is sold by the piece, which means the quote reflects exactly what your space requires and nothing extra. If the spacing between horizontal rows is widened (for a smaller collection or a more open visual effect), the parts count and cost go down proportionally.
The system ships with detailed installation instructions and labeled components. Installation is carried out on-site by a trained professional who tensions the cables, sets the spacing, and confirms the structural connections before any bottles are placed.
For large-scale or architecturally complex wine walls, early engagement with the Cable Wine Systems team during the design phase, rather than at the specification stage, tends to produce better results. It gives the team time to flag any structural considerations that are easier to resolve in drawings than in a finished build.
Common Mistakes to Avoid When Planning a Wine Wall in a Renovation
These are the errors that come up most often in wine wall projects, and the ones that are easiest to prevent when the design team is aligned early.
Leaving the wine wall as a late-stage decision. A cable wine wall has specific ceiling and floor structural requirements. Adding it late in a renovation means retrofitting reinforcement into a space that was not designed for it. This adds cost and often limits where the display can go. Specify the wine wall in the early design phase.
Underestimating bottle count. Collections grow. A 100-bottle installation that feels generous today can feel tight within two or three years for an active collector. Building to 150 or 200 at the start costs less than a second installation later.
Skipping the gallery review before specifying the finish. Chrome and satin nickel read very differently at full wall scale than they do on a spec sheet. Designers who present the client with gallery images before the finish is locked in tend to avoid last-minute changes.
Not accounting for bottle format variety. Standard 750ml bottles are not the only bottles in most serious collections. Magnums, Champagne bottles, and larger format bottles all have different shoulder widths and weights. The Cable Wine System accommodates all of these, but the spacing needs to be specified to match the collection. A system sized only for standard bottles will not work for a client who collects Champagne regularly.
Ordering too close to the installation date. With lead times ranging from 3 to 12 weeks, ordering the week before the installer is scheduled is a timeline risk. Build the order into the project schedule at the point when dimensions are confirmed, not when the build is nearly finished.
Treating the installation as a DIY phase. Even when a general contractor is managing the build, wine wall installation requires someone trained in the specific tensioning and structural requirements of the Cable Wine System. This should be specified in the build contract as a separate scope of work.
Start the Conversation Early
The most successful wine wall projects have one thing in common: the design team, the client, and Cable Wine Systems are all in conversation before the walls go up.
Early engagement means structural requirements are built into the framing scope, finish, and orientation decisions are locked in before lead time starts, and the display arrives on schedule.
If you are a homeowner starting a renovation, bring this guide to your first design meeting. If you are an architect or interior designer with a client who wants a wine wall, reaching out to Cable Wine Systems during the schematic design phase gives you the most flexibility.
The Cable Wine Systems gallery is a strong reference for both residential scale projects and larger architectural installations. When you are ready to put numbers to the project, visit the contact us page where the conversation starts.